

As a seasoned supplier in the glycol chiller industry, I'm often asked about the installation process of these essential cooling systems. In this blog, I'll guide you through the step-by-step procedure of installing a glycol chiller, sharing valuable insights and tips along the way. Whether you're a brewer looking to cool your beer, a food processor in need of temperature control, or an industrial facility requiring precise cooling, this guide will help you ensure a successful installation.
Step 1: Site Preparation
Before you even unpack your glycol chiller, it's crucial to prepare the installation site properly. Here are some key considerations:
- Location: Choose a well-ventilated area with sufficient space around the chiller for maintenance and airflow. Avoid placing the chiller in direct sunlight or near sources of heat, such as boilers or furnaces.
- Level Surface: Ensure the installation surface is level and capable of supporting the weight of the chiller. Uneven surfaces can cause vibrations and premature wear on the equipment.
- Electrical Supply: Check the electrical requirements of your glycol chiller and ensure the installation site has a suitable power supply. It's recommended to have a dedicated circuit to prevent overloading and electrical issues.
- Water Supply: If your chiller requires a water source for cooling, make sure there is a reliable water supply nearby. The water quality should meet the manufacturer's specifications to prevent corrosion and scaling.
Step 2: Unpacking and Inspection
Once you've prepared the installation site, it's time to unpack the glycol chiller and inspect it for any damage during transit. Here's what you should do:
- Careful Unpacking: Use appropriate tools to carefully unpack the chiller, following the manufacturer's instructions. Keep all packaging materials and documentation in case you need them later.
- Visual Inspection: Inspect the chiller for any visible damage, such as dents, scratches, or loose components. Check the refrigerant lines, electrical connections, and water pipes for any signs of leaks or damage.
- Verify Components: Ensure that all components of the chiller are included and in good condition. This may include the compressor, condenser, evaporator, expansion valve, and control panel.
Step 3: Installation of the Chiller
Now that you've inspected the chiller, it's time to install it in its designated location. Here are the general steps for installing a glycol chiller:

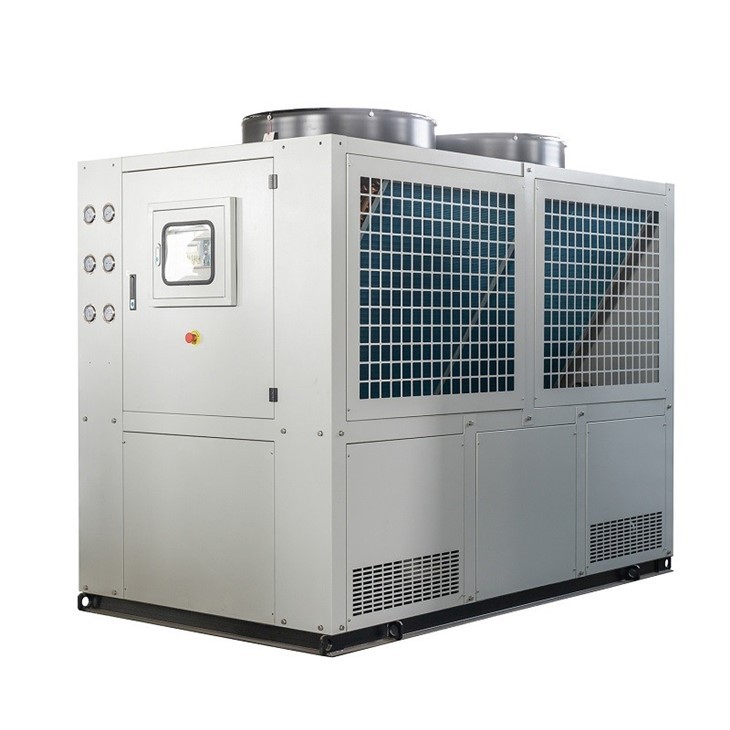
- Positioning: Use a forklift or other suitable equipment to carefully position the chiller on the prepared surface. Make sure it is level and aligned with the other components of your cooling system.
- Mounting: Secure the chiller to the floor using the provided mounting brackets or bolts. Follow the manufacturer's instructions for proper mounting procedures to ensure stability and prevent vibrations.
- Piping Connections: Connect the refrigerant lines, water pipes, and glycol lines to the chiller according to the manufacturer's specifications. Use appropriate fittings and seals to prevent leaks. It's important to follow the correct piping layout to ensure proper flow and efficient operation.
- Electrical Connections: Connect the electrical wiring to the chiller, following the electrical diagram provided by the manufacturer. Make sure all connections are tight and secure. It's recommended to have a qualified electrician perform the electrical installation to ensure compliance with safety standards.
Step 4: Commissioning and Testing
After the chiller is installed, it's time to commission and test it to ensure it is operating properly. Here's what you should do:
- Refrigerant Charge: Check the refrigerant charge of the chiller and ensure it is within the manufacturer's recommended range. If necessary, add or remove refrigerant using the appropriate tools and procedures.
- Water Flow: Check the water flow through the chiller and ensure it is sufficient for proper cooling. Adjust the water flow rate if necessary.
- Glycol Flow: Check the glycol flow through the chiller and ensure it is circulating properly. Adjust the glycol flow rate if necessary.
- Electrical Testing: Test the electrical system of the chiller to ensure all components are functioning properly. Check the control panel for error messages or warnings.
- Performance Testing: Run the chiller for a period of time to test its performance. Monitor the temperature and pressure of the refrigerant, water, and glycol to ensure they are within the normal range. Check for any leaks or abnormal noises.
Step 5: Maintenance and Troubleshooting
Once the chiller is installed and operating properly, it's important to perform regular maintenance to ensure its continued performance and reliability. Here are some key maintenance tasks:
- Cleaning: Regularly clean the condenser, evaporator, and other components of the chiller to remove dirt, dust, and debris. This will help improve the efficiency of the chiller and prevent damage to the components.
- Lubrication: Lubricate the moving parts of the chiller, such as the compressor and fan, according to the manufacturer's recommendations. This will help reduce friction and wear and extend the life of the equipment.
- Filter Replacement: Replace the air filters and water filters of the chiller regularly to ensure proper air and water quality. This will help prevent contamination and improve the performance of the chiller.
- System Checks: Periodically check the refrigerant charge, water flow, glycol flow, and electrical system of the chiller to ensure they are operating properly. Make any necessary adjustments or repairs.
In case you encounter any issues with your glycol chiller, here are some common troubleshooting tips:
- Check the Power Supply: Make sure the chiller is receiving power and that the electrical connections are tight and secure.
- Check the Water and Glycol Levels: Ensure the water and glycol levels are within the recommended range. Low levels can cause the chiller to overheat or malfunction.
- Check for Leaks: Inspect the refrigerant lines, water pipes, and glycol lines for any signs of leaks. Repair any leaks immediately to prevent damage to the chiller.
- Check the Controls: Check the control panel of the chiller for error messages or warnings. Refer to the manufacturer's manual for troubleshooting instructions.
Conclusion
Installing a glycol chiller requires careful planning, preparation, and attention to detail. By following the steps outlined in this guide, you can ensure a successful installation and reliable operation of your chiller. Remember to perform regular maintenance and troubleshooting to keep your chiller in optimal condition.
If you're in the market for a glycol chiller, we offer a wide range of high-quality products to meet your specific needs. Check out our Air Cooled Glycol Water Chiller For 10bbl 20bbl Beer Brewing System, Plastic Water Chiller, and 20KW Glycol Chiller For Cooling Beer. Contact us today to discuss your requirements and explore the best solutions for your business.
References
- Manufacturer's installation and operation manuals
- Industry standards and guidelines for glycol chiller installation and maintenance


