

Installing a window on a cold room door can enhance visibility, improve energy efficiency, and add an aesthetic touch to your cold storage space. As a cold room door supplier, I've had the privilege of assisting numerous clients in this process. In this blog post, I'll guide you through the steps of installing a window on a cold room door, providing valuable insights and tips along the way.
Step 1: Choose the Right Window
The first step in installing a window on a cold room door is selecting the appropriate window for your needs. Consider the following factors when making your choice:
- Size: Measure the area on the cold room door where you want to install the window. Ensure that the window you choose fits the available space and aligns with the door's dimensions.
- Material: Opt for a window made from high-quality, insulated materials such as double-pane glass or polycarbonate. These materials provide excellent thermal insulation, reducing heat transfer and preventing condensation.
- Frame: Select a window frame that is durable, weather-resistant, and compatible with the cold room door. Aluminum and PVC frames are popular choices due to their strength and corrosion resistance.
- Sealing: Look for a window with a tight seal to prevent air and moisture leakage. A good seal will help maintain the temperature inside the cold room and reduce energy consumption.
Step 2: Gather the Necessary Tools and Materials
Before you begin the installation process, gather all the tools and materials you'll need. Here's a list of essential items:
- Measuring tape: To measure the dimensions of the window and the door.
- Drill: For making holes in the door and the window frame.
- Screwdriver: To secure the window frame to the door.
- Caulking gun: To apply sealant around the window frame.
- Sealant: Choose a high-quality, weather-resistant sealant that is suitable for cold room applications.
- Safety glasses and gloves: To protect your eyes and hands during the installation process.
Step 3: Prepare the Cold Room Door
Once you have the window and the necessary tools, it's time to prepare the cold room door for installation. Follow these steps:
- Clean the door: Use a mild detergent and a clean cloth to remove any dirt, dust, or debris from the surface of the door where the window will be installed.
- Mark the location: Use a measuring tape and a pencil to mark the exact location where the window will be placed on the door. Make sure the markings are straight and level.
- Cut the opening: Using a jigsaw or a circular saw, carefully cut the opening in the door according to the markings. Take your time and make precise cuts to ensure a proper fit for the window.
- Sand the edges: After cutting the opening, use sandpaper to smooth the edges of the opening. This will prevent any sharp edges from damaging the window frame or the sealant.
Step 4: Install the Window Frame
Now that the door is prepared, it's time to install the window frame. Follow these steps:
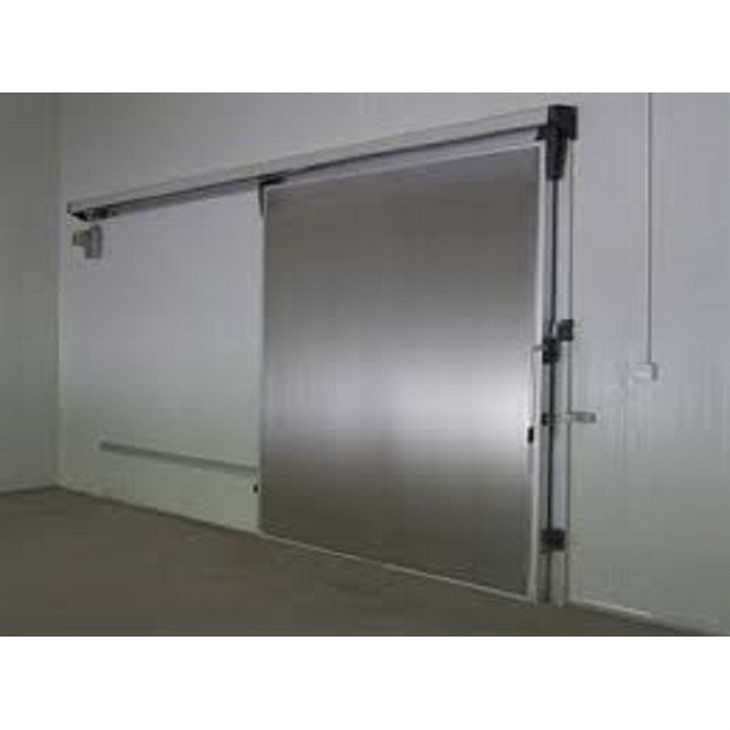

- Apply sealant: Apply a thin bead of sealant around the perimeter of the window frame. Make sure the sealant is evenly distributed and covers the entire edge of the frame.
- Insert the window frame: Carefully insert the window frame into the opening in the door. Align the frame with the markings and make sure it is level and straight.
- Secure the frame: Use a drill and screws to secure the window frame to the door. Make sure the screws are tight and evenly spaced to ensure a secure fit.
- Check the alignment: Once the frame is secured, check the alignment of the window to make sure it is level and straight. If necessary, make any adjustments by loosening the screws and repositioning the frame.
Step 5: Install the Window Glass
After the window frame is installed, it's time to install the window glass. Follow these steps:
- Clean the glass: Use a glass cleaner and a clean cloth to remove any dirt, dust, or fingerprints from the surface of the glass.
- Apply sealant: Apply a thin bead of sealant around the perimeter of the window frame where the glass will be installed. Make sure the sealant is evenly distributed and covers the entire edge of the frame.
- Insert the glass: Carefully insert the glass into the window frame. Make sure the glass is centered and aligned with the frame.
- Secure the glass: Use glazing clips or weatherstripping to secure the glass to the frame. Make sure the clips or weatherstripping are evenly spaced and provide a tight seal.
Step 6: Seal the Window
Once the window glass is installed, it's important to seal the window to prevent air and moisture leakage. Follow these steps:
- Apply sealant: Apply a generous bead of sealant around the perimeter of the window where the glass meets the frame. Make sure the sealant fills any gaps or cracks and provides a watertight seal.
- Smooth the sealant: Use a putty knife or a sealant smoothing tool to smooth the sealant and remove any excess. Make sure the sealant is evenly distributed and has a professional finish.
- Allow the sealant to dry: Let the sealant dry completely according to the manufacturer's instructions. This may take several hours or overnight, depending on the type of sealant used.
Step 7: Test the Window
After the sealant has dried, it's time to test the window to make sure it is functioning properly. Follow these steps:
- Open and close the window: Check to make sure the window opens and closes smoothly without any resistance. If the window is difficult to open or close, adjust the hinges or the weatherstripping as needed.
- Check for air and moisture leakage: Use a piece of paper or a smoke detector to check for air and moisture leakage around the window. If you notice any drafts or moisture, apply additional sealant or make any necessary adjustments.
- Measure the temperature: Use a thermometer to measure the temperature inside the cold room before and after installing the window. If the temperature remains stable, it means the window is providing effective insulation.
Tips for a Successful Installation
- Follow the manufacturer's instructions: Always refer to the manufacturer's instructions for the window and the cold room door when installing the window. This will ensure that you follow the correct procedures and avoid any potential problems.
- Take your time: Installing a window on a cold room door is a precise and time-consuming process. Take your time and make sure each step is done correctly to ensure a proper fit and a long-lasting installation.
- Use the right tools and materials: Using the right tools and materials is essential for a successful installation. Make sure you have all the necessary tools and materials before you begin the installation process.
- Seek professional help if needed: If you're not confident in your ability to install the window on your own, consider seeking professional help. A professional installer will have the experience and expertise to ensure a proper installation and avoid any potential problems.
Conclusion
Installing a window on a cold room door is a great way to enhance visibility, improve energy efficiency, and add an aesthetic touch to your cold storage space. By following the steps outlined in this blog post and using the right tools and materials, you can install a window on your cold room door with ease. If you have any questions or need further assistance, please don't hesitate to contact us. We're a leading Cold Room Door Supplier and we're here to help you with all your cold room door needs. Whether you're looking for a Hinged Swing Door for Cold Room or Manual And Electric Sliding Doors, we have a wide range of products to choose from. Contact us today to discuss your requirements and get a free quote.
References
- "Cold Room Door Installation Guide." Cold Room Solutions, Inc.
- "Window Installation Best Practices." Window World, Inc.
- "Sealant Application Techniques." Sealant Technologies, LLC.


